

“Treat your makeup like jewelry for the face. Play with colors, shapes, structure – it can transform you.” – Francois Nars If you admire the makeup looks you see on the red carpet or splashed across the cover of a magazine, you can replicate these for yourself. It may seem like a daunting task, but with just a little bit of make-up, some patience, and some imagination, you can look picture perfect. Make-up is entering a new era.
It’s no longer a world where the best techniques are the secret of a talented few. There are tons of great tutorials, books, and articles (like this one!) that shed light on just how to get the look you want. You can skip the counter at your local make-up shop and bypass the pricey make-up sessions with a pro. You can instead become talented at understanding what looks awesome on you and what products will really do the trick just in time for the big day!
Most of all, let’s call it what it is: Fun! Make-up can be a fun endeavor, and if you have a few bumps along the way, that’s perfectly fine and normal. The important part is to find what works for you and to have a great time with it.

The Basics
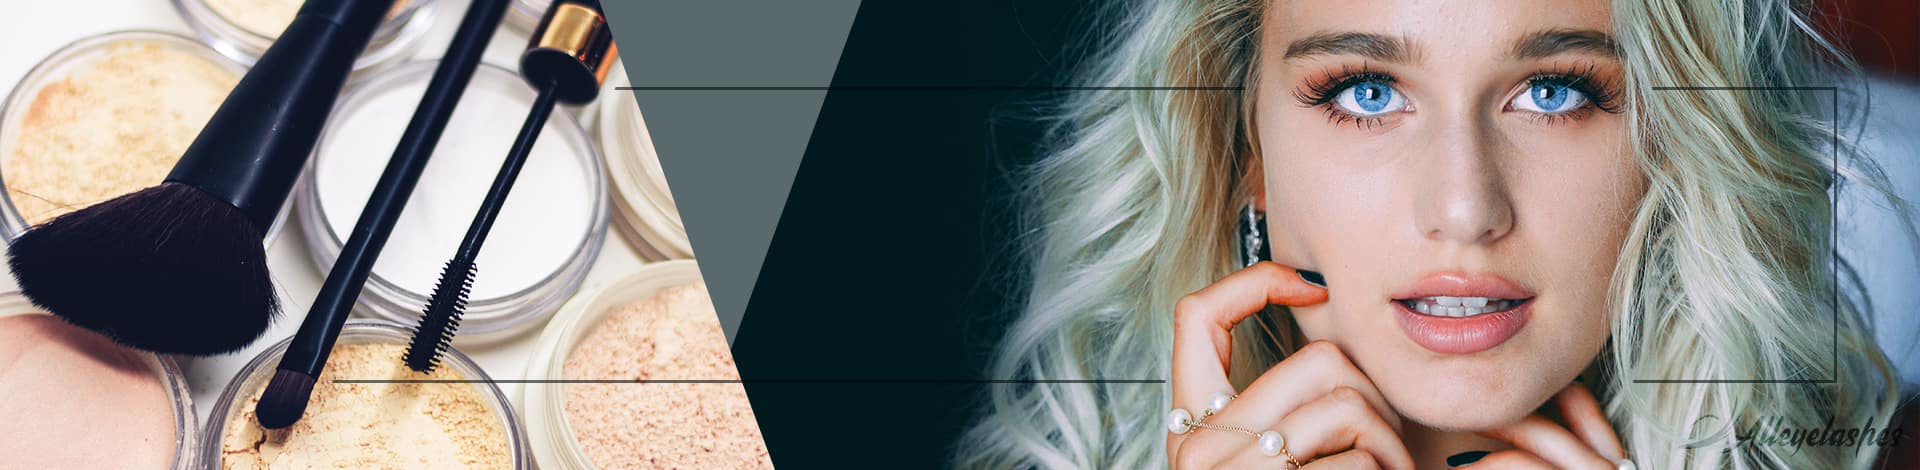
To do make-up that’s lit and lovely, you’ve got to have the basic tools. This means you may have to invest in quality make-up essentials. While you don’t have to break the bank for this, it’s important for you to have the essential tools on hand. Cop some of these items below, and you’ll be well on your way to having the look you love.
- Foundation Brush: For some liquid make-ups, you can use clean, disposal sponges or even your fingers (clean your fingers before applying!), although you can also use these brushes for liquid applications as well. When using a foundation brush for liquid, be sure to use a dabbing, stippling motion to seamlessly blend the make-up into your skin. However, if you’re a fan of mineral or powder foundations, your best bet would be to find a foundation brush. Foundation brushes often have a wide, full, and dome-shaped top that easily spreads the make-up onto your face. There are two kinds you can buy: One with natural bristles and synthetic bristles (which can be cheaper and won’t trap makeup).
- Sponges: Sponges have come a long way, baby! You’re no longer held to a sponge that’s the same boring shape. Now you have a choice amongst what to buy. Our recommendation is at least one triangle sponge, a blending sponge, a dense round or oval sponge, and an egg-shaped sponge (They’re awesome! Give one a try!). Having a variety of sponges will allow you to smooth and blend your makeup in ways that won’t leave lines or creases. This is especially important if you are contouring.
- Highlighter (Fan) Brush: Have you ever noticed those models or actresses that have a subtle golden glow along their cheeks and noses? This is often applied with a highlighter brush. They come in two shapes; long and tapered or fan-like.
- Eyeshadow Shadow & Blending Brushes: When it comes to eyeshadow, the key is to blend, blend, blend! With the shadow brush you can pick up a ton of pigment and by carefully patting and blending with the eyeshadow blending brush, you can get smooth, even colors that pop.
- Powder (Kabuki) Brush: A powder or kabuki brush is great for setting your makeup with a translucent powder. It’s called kabuki after the Japanese theater actors that often wore dramatic make-up finished and set with soft, white powder.
- Bronzer and Blush Brush: As the name implies, this is an awesome tool to use for bronzing and blush. Note that the fluffier the brush, the less makeup it will pick up.
- Contour Brush: You can tell if you’re looking at a contour brush by its uneven slanted bristles. The slope makes it easier to blend in your contouring powder. Blending in your contour will help to give you a more natural look that will define your cheekbones flawlessly.
- Concealer Brush: This brush is optional. You can use an egg-shaped sponge or your fingers to blend in under-eye concealer. However, this brush will make blending beneath the delicate area of your eye much easier with a smoother finish.
- Angled Brow Brush: If you’re looking for flawless brows, an angled brow brush is the way to go. It will outline your brows perfectly.
*If you have all the necessary tools and your makeup, be sure to observe some simple precautions to avoid breakouts and infections. This may mean you should discard a sponge that’s seen better days, a brush that’s falling apart, and dispose of makeup that’s been in your bag for as long as you can remember. In fact, did you ever notice that lots of make-up has an expiration date printed on it? That’s right! Make-up doesn’t last forever, and if you notice, most items will have a period-after-opening (PAO) stamped on them. It will most likely appear to be an opened jar with an M and a number in front of it. For example, if it says 6M, that means the makeup product is good for 6 months after opening. Carefully observe this number so that your makeup will be fresh.
Beat Face:
Step 1: Now that you’re properly prepared and have everything that you need, it’s time to get started. The first step is to begin with a clean face. Wash your face free of dirt and oils. Once this is done, follow up with a moisturizer. Next, if you plan on wearing false eyelashes, apply them at this time. Then, apply a primer. This prepares your face for the foundation. Step 2: Begin by brushing your brows with a brow brush in an upward direction. Fill in any sparse areas with a pencil. Outline your brows with an angled brush and a brow color. Step 3: Use highlighter above your brows and just under the brows. Use a primer on your lids as well. This will help your eyeshadow not only pop, but it will last longer. Blend with a blending sponge. Step 4: Next, curl your lashes. Do this before adding your eyeshadow and other eye makeup. Step 5: Now that your brows are done, begin by adding your eyeshadow with an eyeshadow brush. Next, smooth the colors with an eyeshadow blending brush.

Step 6: Add your eyeliner, being careful to line according to your eye shape. Eyeliners aren’t one size fits all, and what may look great on someone else may not work for you. If you have downturned eyes, for example, the best look is a cat-eye with an upturned flick, while keeping the line across the eye thin. If you have asymmetrical eyes (one eye may be slightly larger than the other), thicken the line on the smaller one to create a wider eye. Finish off the eye look with a coat of mascara if you aren’t opting for false eyelashes. Step 7: Apply your foundation using a blending or triangle sponge. Remember to wet it a bit. (If you’re wearing an outfit that can stain, wear a robe or something over your clothes. The last thing you’d want is makeup on your clothes.) Apply the foundation by starting at the center of your face and then spreading out towards your forehead, nose, around your eyes, and around your jawline. Blend the foundation into your neckline to avoid that strange demarcation between your face and your neck. Step 8: Cover any acne marks or dark spots with concealer. Next, add concealer under your eyes and blend in with either your fingers, an egg-shaped sponge or a concealer brush. Step 9: Set your makeup with a translucent powder. Step 10: Begin adding bronzer using a bronzer brush. Begin at your temples and blend in a “3” shape by hitting your cheekbones and ending at your jawline. Step 10: Add your blush by using a blush brush. Place the rouge onto the apple of your cheeks. This is the area that gets round and fat when you smile. Apply it in a circular motion, being sure to blend the color in smoothly. Step 11: Apply highlighter and contour. Apply the color along your forehead, beneath your cheekbones and along the sides of your nose and around the tops of your nostrils. Blend the color in with a contour brush. You can get that golden glow by scraping a soft, luminous color at the top of your cheekbones with a highlighter (fan) brush. Dot the tip of your nose and blend with your finger if it’s too intense. Step 12: Swipe on a lip color. You can line your lips with a liner to make the color last longer. Or, if you’d like, you can just dab on a lip gloss and go neutral. Step 13: Set your makeup look with a setting spray. We really like Urban Decay All Nighter Long-Lasting Setting Spray. And that’s it! With a little bit of experimentation and patience, you’ll find a look that you’ll love for that special evening. Like any skill, the more you do your makeup, the better you’ll get at it. It’ll become second nature and soon you’ll be a pro. So go forth and be fashionable!


