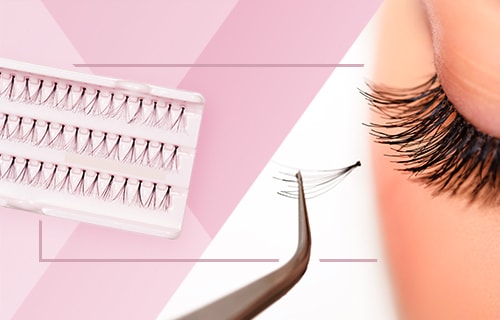
If you have never done it before, then knowing how to apply individual lashes can seem like an impossible task. However, it’s a lot easier than you might think! Wearing individual lashes not only creates a natural eye, but it can also be much more subtle than strip lashes, which tend to be bolder and more obvious. You’ll be glad to know that you don’t need tons of equipment or expertise to create perfectly natural false eyelashes. In fact, all you need is a pack of your favorite individual lashes and lash glue, makeup remover, cotton pads, and tweezers.
How to Put on Individual Lashes with Just a Few Minutes to Spare
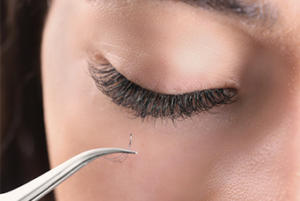
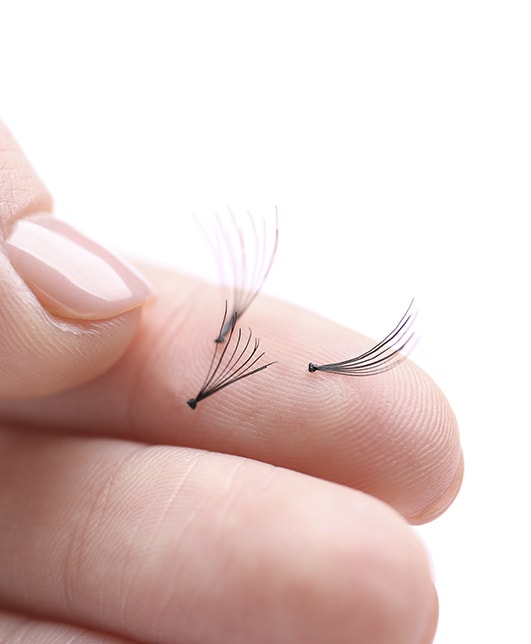
When it comes to learning how to put on individual lashes, the first thing you need to do is ensure your eye is clean of any makeup – ready for the application process. Any residual mascara or other makeup must be removed from the eyelid and eyelash area, and for this, we recommend using a good makeup remover and cotton pad. Once you are satisfied that your eyes are clean and dry, it’s time for the next step. Individual lashes don’t require large amounts of glue, so we recommend decanting a small amount into a pot or onto a piece of aluminum foil to avoid any mess later on. Once you have the glue ready, it’s time to start applying, and for this, you need to have your tweezers ready. The most important part of learning how to put on individual lashes comes in the practice, so before you put glue on your lashes, do a test run to see which length suits which part of the eye best. Once you’re happy with your choices, it’s time to use the glue – and we recommend working from the outer corner of the eyelid first. The best part of individual false lashes is that you don’t need a full eye’s worth – just a few on the outer corners can emphasize the eye without going over the top – so you can build your look as you see fit. Take your tweezers and dip the application end into the glue so the tip is coated, but not dripping with excess glue. Once you are ready, begin applying the individual lashes to the base of your natural lash line, and start to build up from the outside moving inwards. For best results, allow the glue to become tacky before applying – this will help the lash stick better, and will help to avoid them falling out throughout the day. If you have only minutes to spare, then applying individual eyelashes to just the outer corners of your eyes works as an effective yet time efficient way of creating a striking look with minimal effort. However, remember you can add lashes across the entire length of your eye depending on the occasion – but we will get to that bit shortly!

How to Apply Individual Eyelashes for Every Occasion
If you aren’t necessarily looking for the au naturel look, that’s fine – individual fake lashes are a great addition to a full face of makeup as well as a bare-faced day! Whether you have a big meeting coming up, an interview, or a girly night out, you can create effortless lashes that grab attention and leave a lasting impression. Don’t believe us? There are tons of individual lashes before and after shots out there on the web that prove our theory – natural individual eyelashes are the perfect must-have item for every occasion! Our top advice for women looking to take their day lashes to the night is to simply top them up before you head out on the town! Remember, you can decide to apply as much or as little as you want when it comes to individual lashes, and a good coating of mascara is a wonderful way to help blend them in with your own lashes, creating a perfectly bold look. When you’ve had your fun and it’s time to remove your lashes, using an oil-based makeup remover is the most efficient way of doing so, and is great for removing any leftover glue that has stuck behind. There you have it, your easy tips on making the most out of individual lashes and applying them without a hitch! We hope our speedy guide has provided some helpful information – now go rock those lashes!


